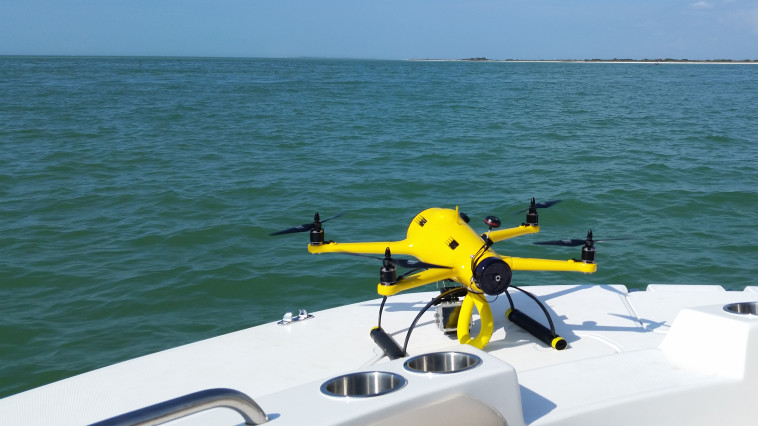
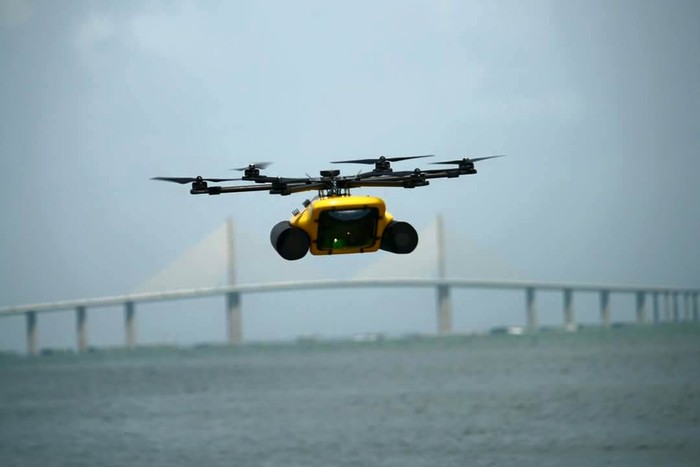
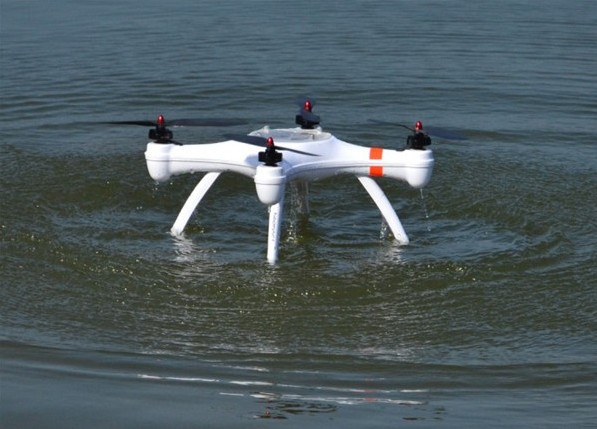
Most drones are built to fly on land and when you have to fly near a large mass of water, you have to be cautious and try not to land it in the water. The chances of your circuit board remaining functional after a dip in the ocean are slim, but you can take certain measures. First, you can opt to get a waterproof drone, but with the hefty price tag averaging $1000 and above, it is not an option for most people.
Did you know that you could water proof your drone? This is not only a cheaper way to fly the drone over water, it requires that you have a few electrical skills, but not to worry, today, we will show you how to waterproof a drone. With a few supplies you can get online or form a hardware store near you, you can water proof the drone in under two hours and be able to fly it as you normally would.
Water proof Vs. Water resistant
When it comes to ensuring that your drone does not allow water into the body, there is the need to know the difference between water resistant and waterproof. Anything waterproof is impervious to water, but water resistant items are able to resist the penetration of water for a short while. Today, we will look at the proven method of water proofing a drone as well as the parts to consider when water proofing the drone for maximum results.
Water Proofing Focus Areas
Motors
Overall, motors are waterproof, however, the bearings are not, and salt water will corrode them. Most bearings are made from steel and in spite of this; the motors are bound to be worn after coming into contact with salty water. It is then important that you take great care to coat the entire motor when waterproofing those on the propellers and on the gimbal.
Screws
The screws in most drones are made with stainless steel. However, this is not enough and you will need to put a conformational coating on the screws to ensure they last they las as long as the drone does.
Frame
This is arguably the most crucial part of the drone to waterproof. Different manufacturers use different materials to make the frame, but plastic frames easily to succumb to water pressure and let water into the inner compartment. A tiny distortion on the frame can lead to a massive leak. Most manufacturers opt to use a thicker frame made from durable plastic but this can block the radio signals from the flight controller.
Some manufacturers have gone to the extent of mass-producing DIY waterproof frames but they are either too heavy or too fragile. These will reduce the flight control range to approximately 20 meters.
Flight Controller
The barometer is one of the most crucial parts of the barometer. It allows the drone to keep the right altitude. However, most waterproof frames do not have an adequate vent to balance the air pressure in the drone and outside the drone. This causes the drone to keep bouncing and sometimes it might crush right after takeoff.
Dissemble the Drone
When you bought the drone, it most probably came with a kit, and there ought to be a screwdriver that will help you in disassembling the drone. Remove the battery, electric speed controller, the BEC, motors, and the flight controllers.
Follow the user manual since the process is not the same for all drones. However, it is important that you take a photo of the connections to allow you get it right when you are reconnecting them.
Silicon Conformal and Corrosion-X HD
Pour a decent amount of a silicon based conformal into a bowl and submerge the parts into the conformal. Different conformal take at different times to set and so you will need to work fast. For parts such as the servos, you will need to remove the casing in order to get to the metal parts. Set the parts aside to dry after which you ought to inspect each one of them for even coating.
Certain parts such as the power system give off heat and silicon tends to insulate them. Ensure that you get the thinnest coating on such areas or use silicone pads to attach an aluminum sink to it.
Replace Copper Connectors with Gold Ones
Regular copper connectors react with salt water and they will be useless after the first few dips. However, gold is less active with salt water. You will need a soldering gun to remove the copper connectors as well as a soldering wick to install the gold ones in place.
Reconnect Everything
Double check that everything is covered with the conformal and Corrosion-X HD, then start putting the drone back together. Remember the photo you took before your dismounted the drone. Use it to reconnect everything in place as it was before.
Before you screw everything down, ensure that everything works. It is best that you leave the drone to dry for at least an hour after you have reconnected everything for it to set then you can take it out on the water.
Spraying
You can also water proof your drone by spraying instead of submerging the parts in the conformal. The spraying technic requires two coats, the base coat, as well as the top coat. First, you spray the base coat on all the components of the drone t6hen wait for at least half an hour before you apply the top coat. The components might look foggy, but it is not a problem really, since the parts will be put back inside the drone.
Conclusion
With the tips and process above, you will be able to waterproof your drone and enjoy it to the fullest. Besides, this will set you back less than $100 while getting a waterproof drone will require more than $1000. Remember to repeat the process whenever you start noticing any water penetrating the drone’s body. If you have any suggestions or questions, leave us a comment in the section below.
https://www.youtube.com/watch?v=nWdJkkzClGE


