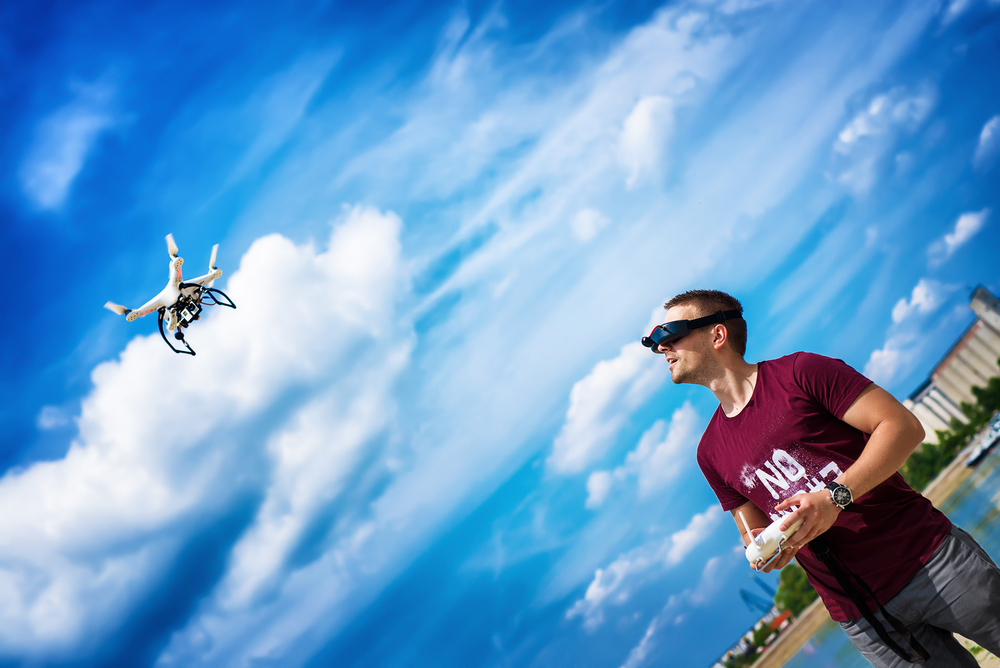
FPV is one of the terms taking center stage in drone aviation, and you have probably seen it on social media, drone websites, YouTube, among other places. FPV stands for first person view, and it means that you see what the camera on the drone sees in real time. Over the past few years, FPV technology has transformed significantly from a mere display monitor on the remote controller or ground station, to FPV goggles that give an immersed drone flying experience.
If you are trying your hand at FPV flying for the first time, think of it as first person video game except that in FPV, you are interacting with the real world. It has brought about a new dimension n drone flying and it is an upgrade from the line of sight method used to fly drones in the past. FPV flying has its benefits including
- You can fly further than with line of sight
- The flying experience is more immersive
- You can take better aerial footage and stills
Once you fly FPV, you will not want to go back to line of sight again. However, setting up FPV goggles can prove to be a tall order for most people, especially beginners as well as those who have upgraded their goggles. In this article, we will look at how to set up/build FPV goggles in order to get an unbeatable first person view of your drone’s flight.
Basic FPV Set Up
The first thing you have to consider is getting an FPV camera on your drone. The camera will capture the footage and send it as a signal to the receiver on your FPV transmitter, then changed into an image or video on your FPV goggles, or the standard FPV monitor.
It is worth noting that there are different transmitters/receivers, and they have different ranges. The pricier the FPV kit, the longer the range. DJI, the Chinese drone manufacturer, is one of the best that gives the longest ranges for FPV flying. When you fly FPV for the first few times, it is best to have a spotter to keep a line of sight with the drone and alert you when you get dangerously close to obstacles in the flight path. This will also help you in staying in line with the law since the FAA recommends that you ought to fly the drone within the normal line of sight, otherwise, you could get in trouble.
FPV System Kit
A complete FPV kit ought to have the following items
- An FPV camera
- A video transmitter
- A video receiver
- FPV goggles, LCD screen, smartphone, or tablet
- Two antennas
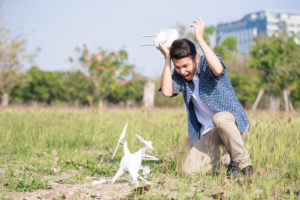
Most manufacturers are producing FPV kits using cheap components in order to gain a foothold in the market. This trend has caused mid-flight malfunctions of the kits and while at top speed, many pilots have lost control of their drone. There is also the danger of losing the drone completely if you have not set up your FPV goggles collect.
How to Set Up Your FPV Goggles
FPV Camera
The cameras used in FPV flying are the typical security cameras, and you ought to consider the power requirements of the camera in order to estimate the flight time. A camera with a wide input voltage range gives you flexibility when it comes to wiring your FPV system.
Video Transmitter and Receiver
The FPV camera connects to the video transmitter, which relays the signal to the video receiver via an omnidirectional antenna. The receiver then converts the signal into images that are then displayed on the LCD screen of the FPV goggles. The antennas are similar to those on your Wi-Fi router at home or office. However, most are linear polarized antennas and will need to be upgraded to circular polarized antennas before you embark on the maiden FPV flight.
The problem with the 5.8 GHz linear polarized antennas has a very high frequency that bounces on trees and walls, that you get multi-path interference. Suppose you are flying the drone at a high speed and you take a hard-banked turn, you will lose signal and your drone could end up crashing.
There are four types of antennas to choose from, and it depends on the frequency you are using to transmit the signal from the video transmitter to the receiver as well as how far you want to fly the drone
- Linea polarized directional antenna
- Linear polarized Omni directional antenna
- Circular polarized directional antenna
- Circular polarized Omni directional antenna
Circular polarized antennas are the best for beginners but with increased FPV flying experience, you can experiment with different types of antennas that will suit your style.
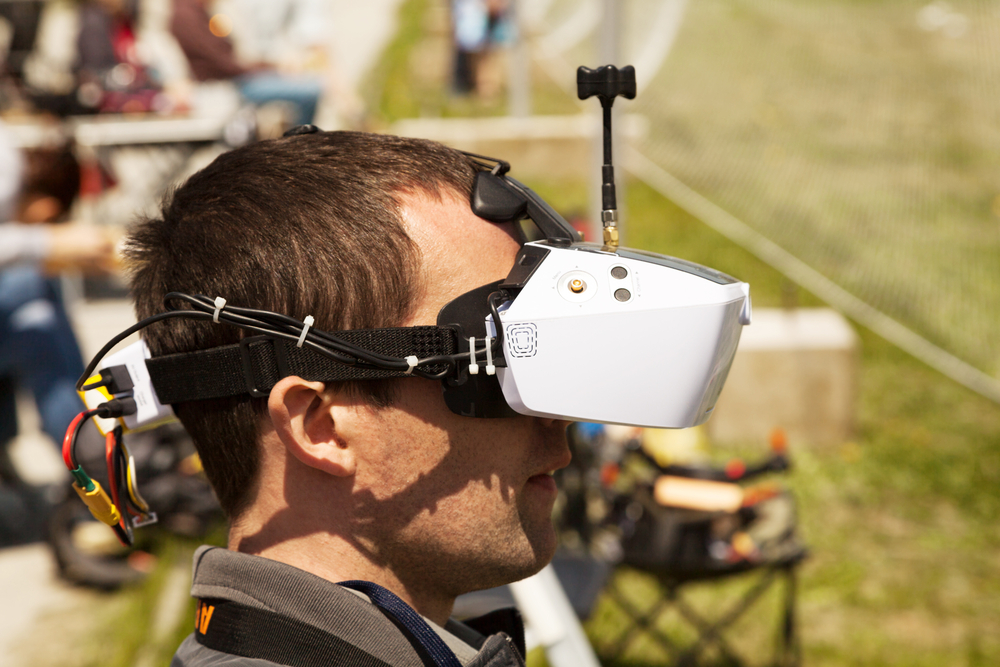
FPV Goggles Wi-Fi Frequencies
Premium FPV goggles from Fat Shark and other companies go for as much as $500, but you can get cheaper goggles on Amazon and other ecommerce sites. It is worth a mention that some FPV goggles come with an inbuilt video receiver. They take out the need to buy a separate video receiver; however, they will frustrate you when you need to make an upgrade. Setting up the FPV goggles to work with the drone can be tricky for most people.
FPV flying relies on a Wi-Fi connection with various frequencies. The most common are 900 MHz, 1.2 GHz, 2.4 GHz, and 5.8 GHz. The first three are suitable for long and medium range FPV flying because they can penetrate trees and walls. 5.8 GHz on the other hand is suitable for short-range flying and they have a tendency to bounce off trees and walls despite offering the best protection against interference.
Conclusion
The above information will help you set up/build FPV goggles with ease. There is no one solution fits all for when you are setting up your FPV goggles, but you can start with manual. We understand that not everyone is in a capacity to get the Fat Shark FPV goggles or the latest DJI FPV drone, but with a simple understanding of how the signal reaches the goggles from the camera, you are set to go. Was the information helpful? Leave us a comment in the section below.