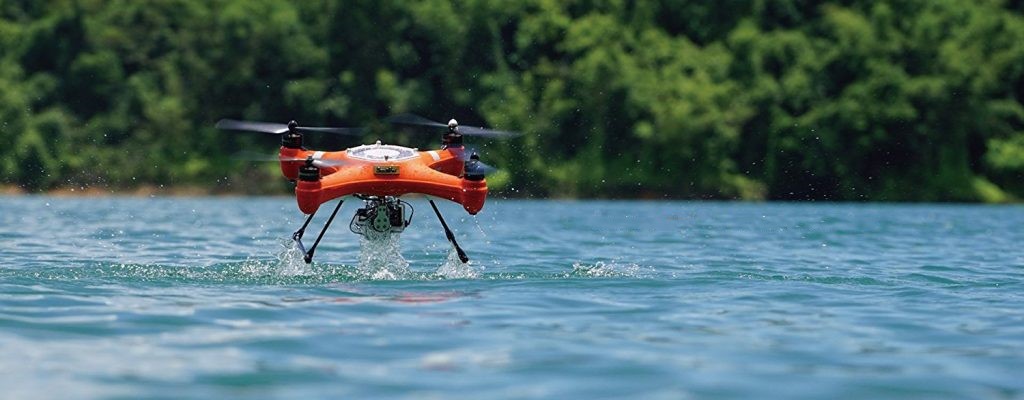
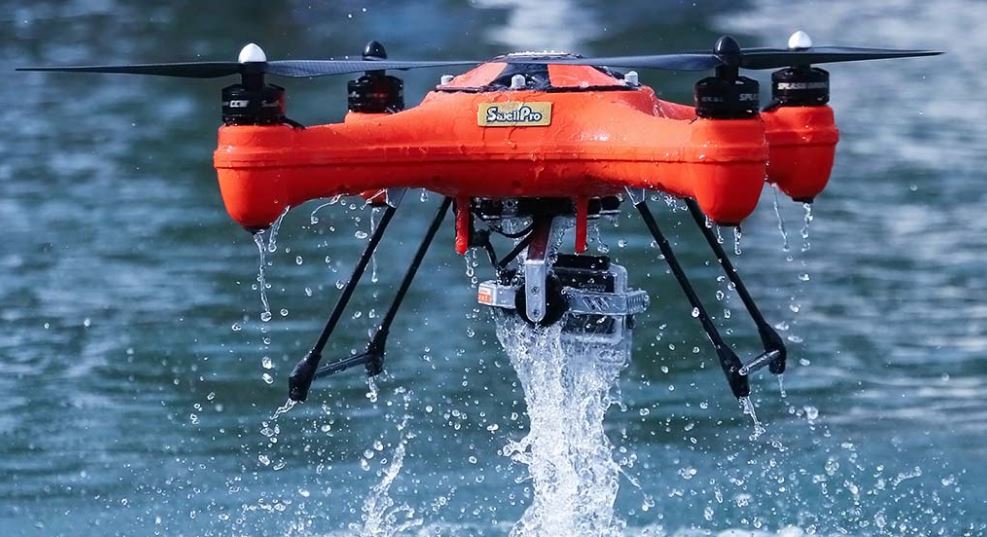
Waterproof drones are expensive and you have to part with over $1,000 to make a purchase. If you are reading this article, then you are at pains with parting with your hard-earned cash. Waterproof drones have several advantages over the regular drones including that they can fly over water, in the rain, and the electrical components inside will not be affected. The ordinary drones, no matter the price, they will not survive a dunk in the water or flying in the rain.
Waterproof drones give more agility and you can fly it in any weather, however, the price will put off many people. In spite of this, did you know that you could build your own waterproof drone? Our drone experts have scoured the internet for tutorials on how to make a waterproof drone and today, we are proud to present to you what you need to build your own waterproof drone.
Water Repellant Vs Waterproof
When it comes to building a drone impervious to water, you need to understand that there is much difference between water repellent and waterproof. We have seen many people settling for water repellent just because they could not find waterproof materials, in time for their vacation and it has led to lose their drones.
Water repellent materials can only repel water for a few minutes, say 10 minutes at most. What this means is that if you are flying your water repellent drone far away and a storm rolls in, you will have only a few minutes before water and moisture build up shots the electrical system.
Waterproof means that the material can protect the drone from water and no matter if it falls in water, or is caught up in a storm, it will fly normally until it reaches the take off position. With this out of the way, let us look at what you need to build your own waterproof drone.
What you need to build a waterproof drone ?
Waterproof Drone Frame
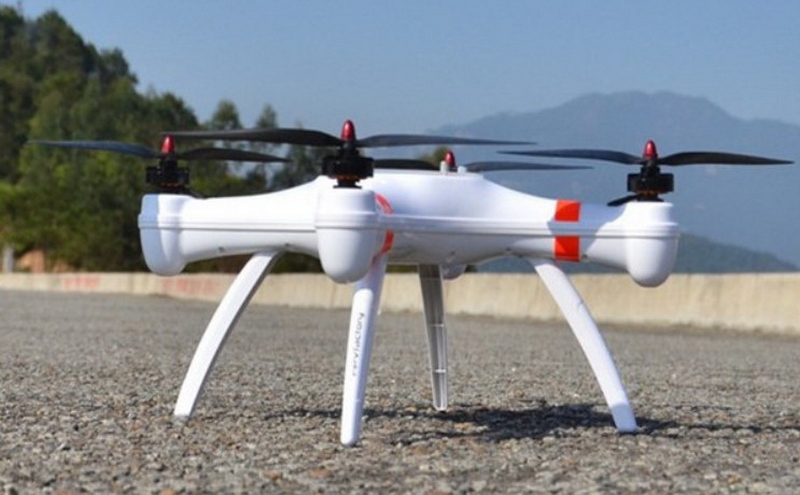
Depending on the type of drone you want, whether a quadcopter or a fixed wing, you will need to start with a waterproof frame. You can decide to build your own frame or you can get a waterproof drone frame already manufactured. If you go for the manufactured waterproof drone frames, the manufacturer will dictate what components will work best with the frame and you do not get much room for improvement. However, you can get the job completed much faster.
There are various ways you can make your own waterproof drone frame using a waterproof electrical socket box and a 4-way PVC intersection. You will need to ensure that the socket box and the PVC intersection have a snug fit to avoid causing vibrations when the drone finally takes flight. You can use sturdy conduit pipe to make the rotor arms and at the end of the pipes, use a 3-way PVC intersection that will act as the base for the motor mounting.
Waterproofed Electronics
Having a waterproof frame is not enough. You will need to waterproof the electronics that will go into the frame. You can use a silicone conformal combined with Corrosion-X HD or any other spray that will ensure a waterproof coating over every component of the electronics. We recommend Corrosion-X HD because it can withstand salt water.
You could also go for Nano shield technology, which is the method that premium waterproof drones use to waterproof their drones. However, you will have to send the electronics to the companies offering the technology to waterproof it since it is not commercially available. The companies to consider for waterproofing your drone’s electronics includes Liquipel, Semblant, P2i, Nano State, HzO, and Nano Flow.
You can also go for waterproof sprays, but many DIY waterproofing enthusiasts flaw upon their effectiveness since it is not as effective. Silicone conformal coating is much more effective and cheaper.
Camera, Gimbal, and Flight Controller
There is no use of having a drone without a camera, and so you will definitely need a good camera capable of taking HD footage and images. A drone also requires a flight controller, which is a minute circuit board that directs the revolutions per minute for each of the motors.
For the gimbal, you will find many options in the market, but the most popular are the 2- and 3-axis gimbals. The 3-axis gimbal provides better video stability since it controls the yaw, pitch, and the roll, while the 2-axis stabilizes the pitch and the roll. In spite of this, 3-axis gimbals are more expensive; use more battery power, and heavier than the 2-axis gimbals.
When it comes to the camera, you have a wide range to choose from, you can get a gimbal that comes with a camera, or you can get one with a mounting for an action camera. GoPro cameras are some of the best action cameras in the market, and depending on your budget, you will certainly get a camera that will suit your viewing needs. More so, the GoPro comes with its own waterproof casing, and you will surely have the time of your life if you plan to shoo some underwater footage.
Undercarriage and Floats
If you go for pre-fabricated waterproof drone frames, chances are that they will come with an integrated undercarriage. However, the floats are an extra touch and you will have to fabricate them yourself. If you decide to go the DIY way from scratch, you will then have to use make the floats and the undercarriage.
You can bend conduit pipes to act as the undercarriage. For the floats, you only need an airtight inflatable pockets preferably made from rubber or plastic. You can attach the undercarriage with screws or bolts, while the floats you can attach with vecro straps.
Finally, you will need is to assemble the parts and seal every part. You can use the silicon conformal on the spaces between the body’s parts as well as on the screws, and motors. You will also need to recalibrate the gimbal, camera, and the GPS so that you get the best flight experience from your drone.
Do you think we have missed anything to make a waterproof drone? Drop us a comment in the section below.
