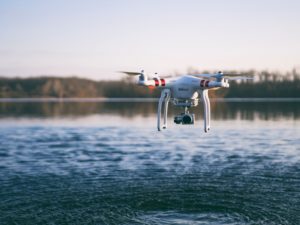
Most people are content with the commercially available drones on the market. As much as they are functional, they each have their shortcomings. Many drone enthusiasts have for the longest time wished that they could make their own drones. You could of course buy a drone kit, that comes with the parts you need to make one, but it is not the same as making your own from scratch. Did you know that you could make your own using 3D printer?
3D printing has revolutionized how we make prototypes and actual products and until recently, drones have started being made using this technology. Basically, 3D printing creates physical objects from a digital design using a special printer that uses an additive manufacturing process. At inception, the 3D printers were overly expensive, but they are now becoming cheaper and in years to come, they will be a common thing in stores and homes.
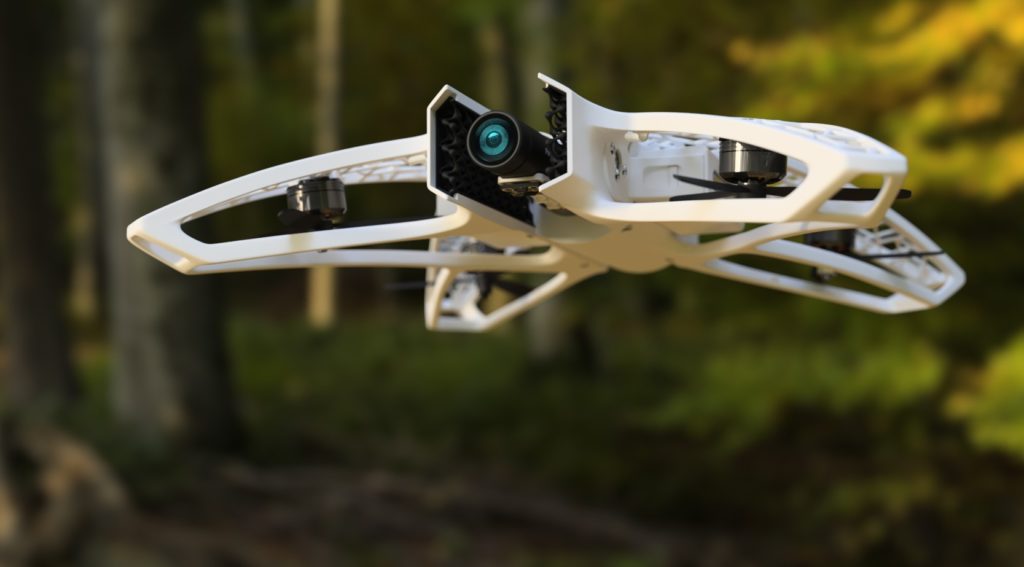
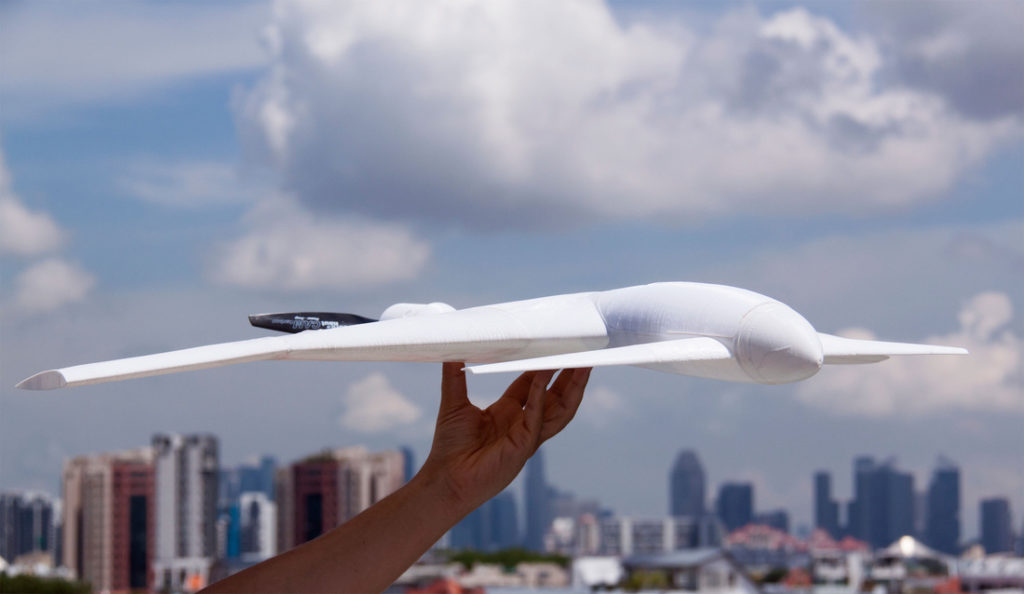
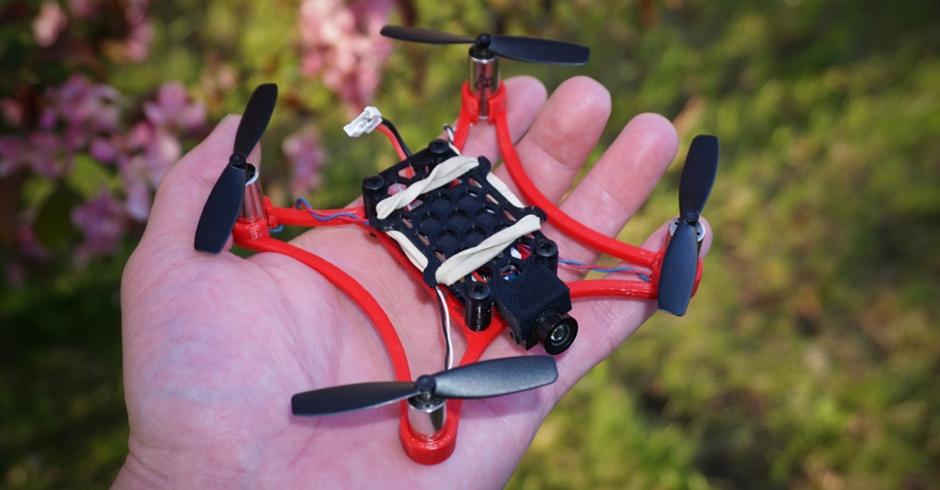
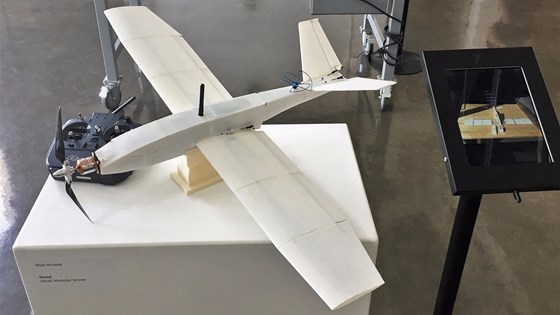
In this article, we delve into how to build your own 3D printed quadcopter drone, right from the ideas, materials and resources you need to design your own quadcopter. While a 3D printer will not fabricate the electrical components of the drone, you can be able to make the frame, propellers, and the landing gear.
Why You Ought to Consider A 3D Printed Quadcopter Drone
All drone pilots suffer a panic attack after their store-bought drones crush and break the crucial components required to fly. It can be expensive to replace the parts and most people opt to buy a new drone rather than repairing. In most cases the parts can be difficult to find and you could take so much time to gather the required parts.
You can take the guess work out of getting the parts by using a 3D printer to make your own parts, as well as make a complete frame, replacement propellers, and landing gear. Here are reasons why you ought to consider a 3D printed drone.
Improve the performance of the parts
While flying your drone, have you noticed areas that you could improve? With a 3Dprinter you can easily upgrade and developer better parts to improve the performance of your drone. However, you will need to stick to the length among other proportions of the parts for them to work perfectly.
A learning opportunity
With the proper part design, you will be able to make the parts with no fuss. However, the first few tries might end up in disaster, but take it as a learning opportunity. With the current price of a 3D printer, you could start printing part for other quadcopter pilots who desire their own custom parts and earn a good sum for your services.
Infinite supply of parts
The 3D printer can churn out as many parts as you need for when your drone breaks down, just remember to have them with you when you go out flying. This will ensure that you can get as much fun flying as possible despite the mishaps that crops up. More so, if you have a new camera you want to test out on your drone, you could make a custom camera mounting that will house the new camera.
Things to Consider to Build Your Own 3D Printed Quadcopter Drone
One thing you need to note is that printing a 3D object could take several hours to create a part of sufficient quality. You will need to develop your skills and perfect your art, and you could benefit from the hundreds of online tutorials and guides on YouTube. You can print all the parts of the drone except the electrical components including
- Camera mounts
- Landing gear
- Frame
- Antenna holder
- Propellers
- Propeller guards
- Battery and remote casing
If you think that it is a tall order printing your own drone parts, you might find comfort knowing that some of the drone manufacturers are using 3D printed part for their commercial drones. There are websites offering STL files that contain the 3D designs you need for your quadcopter drone.
If you are thinking of embarking on a drone project, you will need the electrical components on hand including the brushless motors, the batteries, sensors, among other components. The best thing is that with the proper materials and resources, you could spend less than $100 or less.
What you will need
As with any project, you will need a few tools to get the project off the ground. Here are the tools you will need beforehand to actuate your idea.
- A 3D printer
- 3D modelling software
- Soldering gun and wire/iron
- Screws and screwdrivers
You can choose from a wide variety of 3D modeling software and most of them are free. It will take you approximately 6 hours to get the job done, maybe longer if you have never done it before.
Design Your Own Quadcopter Drone
This is the best part and it requires your creativity. The 3D modelling software allows you to create the parts piece by piece or as part of the frame. This will depend on your skills level and the size of your 3D printer. When designing the frame, it is best to go for one with detachable arms this way, in case one of the arms breaks during a collision or hard landing, you can easily print another.
Designing the frame
Most quadcopter drone frames have two plates that are separated by stand offs that range between 15mm and 35mm in length. The lower plate ought to be sturdy enough to hold the flight controller and other electrical components. The upper plate should also be sturdy enough, you do not want it to give way when the drone crushes.
The arms can be attached to either of the plates. The frame size is measured from the center of the front left motor to the back-right motor. You can make the size of the frame as big as you want, but make sure that the propellers and the motors are of the right size.
Thickness
No matter how careful of a pilot you are, you will crush your drone at some point. You do not have much say in the structural integrity of a commercially manufactured drone, but you can make yours as strong as possible. When designing your drone, it is necessary that you make it as thick as possible to survive several crushes.
Since the arms are the most susceptible to breakage, you ought to make them as thick as possible, and you can add supports to make them more resilient.
Motor holes and holders
You ought to know the dimensions of the motors you will use before you get around to designing your own quadcopter drone. This ensures that you leave enough room to hold the motors and the holes in the arms where the propeller mounting will go. The pattern of the holes is described on the product pages of the motors, or you can measure them on the motors yourself.
Flight controller mounting area
A majority of the flight controllers mount to the drone’s frame with 4 screws. Measure the size of the flight controller and ensure that the mounting area on the frame is as center as possible. This ensures equal weight distribution, otherwise, you will have some motors working harder than the others and to will very difficult to fly. The mounting area also needs to be as flat and level.
Battery mounting
In the 3D drone printing forums, the opinion is split on where the battery ought to be mounted. However, for starters, you could mount them using straps on the bottom or top of the drone. However, where you mount the battery is dependent on your design, just ensure that there is enough room.
As the last tip in the design your own quadcopter drone section, you can customize it as much as you want as long as you use the proper materials.
Printing Your Quadcopter Drone
However, before you get to printing, there we have a few recommendations for you to consider.
Choice of infill
Many enthusiasts cut corners when printing their drones and this leads to them breaking easily after one or two crushes. To make the parts as sturdy as possible you ought to use as higher infills as much as 50% or more. However, the drone will be heavier than the normal but with the proper motors and propellers, it will be easy to fly it.
Filament
There are several filament materials to choose from, though it does not matter much, there are some that bear several advantages over others. The swap filament method is best in achieving the proper color intensity.
* PLA
This filament material prints better on most 3D printers and it is sturdier than most other filament materials. The resulting frame will be much stiffer and the arms will not bend easily. However, due to the stiffness it is more prone to breakage when the drone crushes.
* ABS
The advantage of ABS over PLA is that it is stronger and more flexible than PLA, and this makes it a better filament material. Despite this, ABS is much harder to print than and not all 3D printers are capable of handling the job.
* PETG
PTEG is stronger than PLA, but less flexible than ABS. However, frames and arms built with this filament material are less susceptible to breakage incase of a crush. In spite of this, we recommend that you add proper supports to your arms due to the flexibility. Lack of this, the thrust from the motors will make the arms to bend resulting in reduced efficiency and controlling the drone will be much harder.
Wiring the electronics
Most people find this part the most challenging but it is not as difficult as claimed to be. If you have basic soldering skills, you are set to add the electronics. The electronics can be found online and you do not have to break bank to get them. some of the best online places to get your drone electronics is on eBay, Gearbest Banggood, Aliexpress, among other quadcopter drone stores.
The electronics you will need for your quadcopter drone are
Brushless motors
Most quadcopter drones have 4 arms, but you will find others with 6 arms. Depending on the number of arms you are better poised to use brushless motors. The reason is that they greatly reduce friction. The size of the motors will depend on the size of the drone. The size of the motors is marked with KV and this means how fast they will spin.
Suppose you buy a 1306 KV motor, the first two numbers indicate the diameter of the motor and the last two numbers indicate the motor thickness. Smaller motors have a high KV rating. Motors with a lower KV have a greater torque and vice versa.
Electronic speed controller
Given the number of motors you have on your quadcopter, you will need a similar number of ESCs. The ESC you choose ought to correspond to your motor specifications since they are responsible for controlling the speed of the motors.
Flight controller
CC3D or Naze32 are the most common flight controllers for 3D printed quadcopters. The Naze32 flight controller will give you more configuration options and you can program the ECSs directly.
A power distribution board
For a clean set up, you will need a power distribution board, though it is not necessary. It distributes power from the battery to the camera, flight controller, to the ESCs, and other electronic components.
Radio and receiver
This is probably the most the expensive electric component of your drone. However, a 6 channel CPPM/PPM receiver is more convenient than the standard PWM receivers.
Battery cable and connectors
The battery cable ought not be too thin to ensure that it does not have much resistance. Thicker cables have the capacity to handle as much as twice the voltage of your battery.
Propellers
Most drone enthusiasts prefer to buy the propellers but you can print them using the ABS filament. If you wish to buy them, consider the size and weight of your quadcopter.
Wiring
The wiring of your electrical components is pretty straightforward. You can get a wiring diagram from the internet and it is as simple as
- Soldering the battery wires and connectors to the battery input
- Connecting the motor wires to the ESC
- Connecting the positive terminals of the ESC to the positive terminals of the power distribution board and the respective negative terminals
- Connecting the ESC signals to the FC motor outputs 1, 2, 3, and 4. The order in which you will connect the motors solely depends on the FC
- The motor output on the FC has 6 pins and you ought to connect the 5V output from the power distribution board to one of the pins
- Connect the positive 5V terminal of the FC and negative as well as the channel 1 signal to the receiver
- Connect the camera signal to the VTX
This is just a snippet of how you need to connect the electronic components. The trick to having a strong bond to your connections is to do as much soldering as possible.
Finally, download the proper flight controller software and drivers to your computer or smartphone and configure the drone accordingly. You could program the ESCs but it is not mandatory for your drone to fly.
Conclusion
With the above guide, you are all set to fly. However, you need to adhere to the proper flying guidelines and drone safety tips. This will ensure that your drone lasts longer. This is all the information you will need to design your own quadcopter drone. You do not necessarily need to have your own 3D printer, but you need to have the design of the parts narrowed to the specifications of your drone.